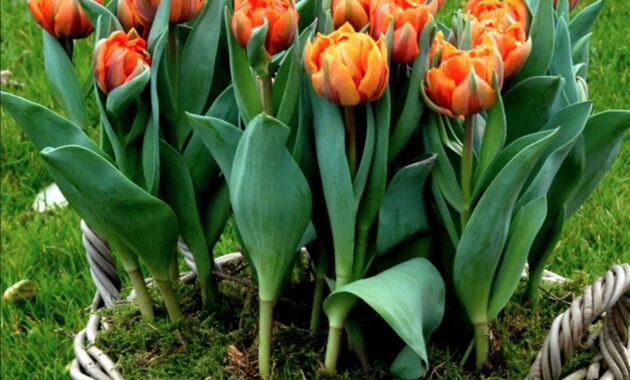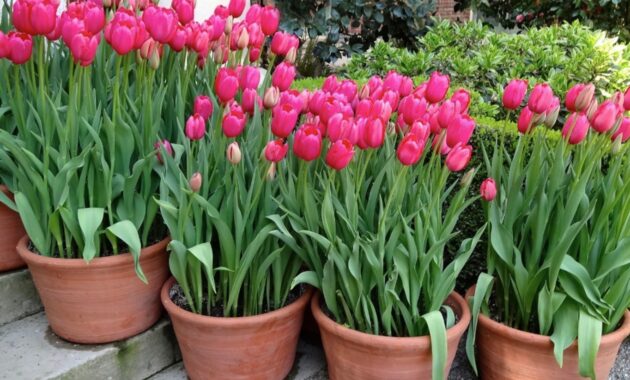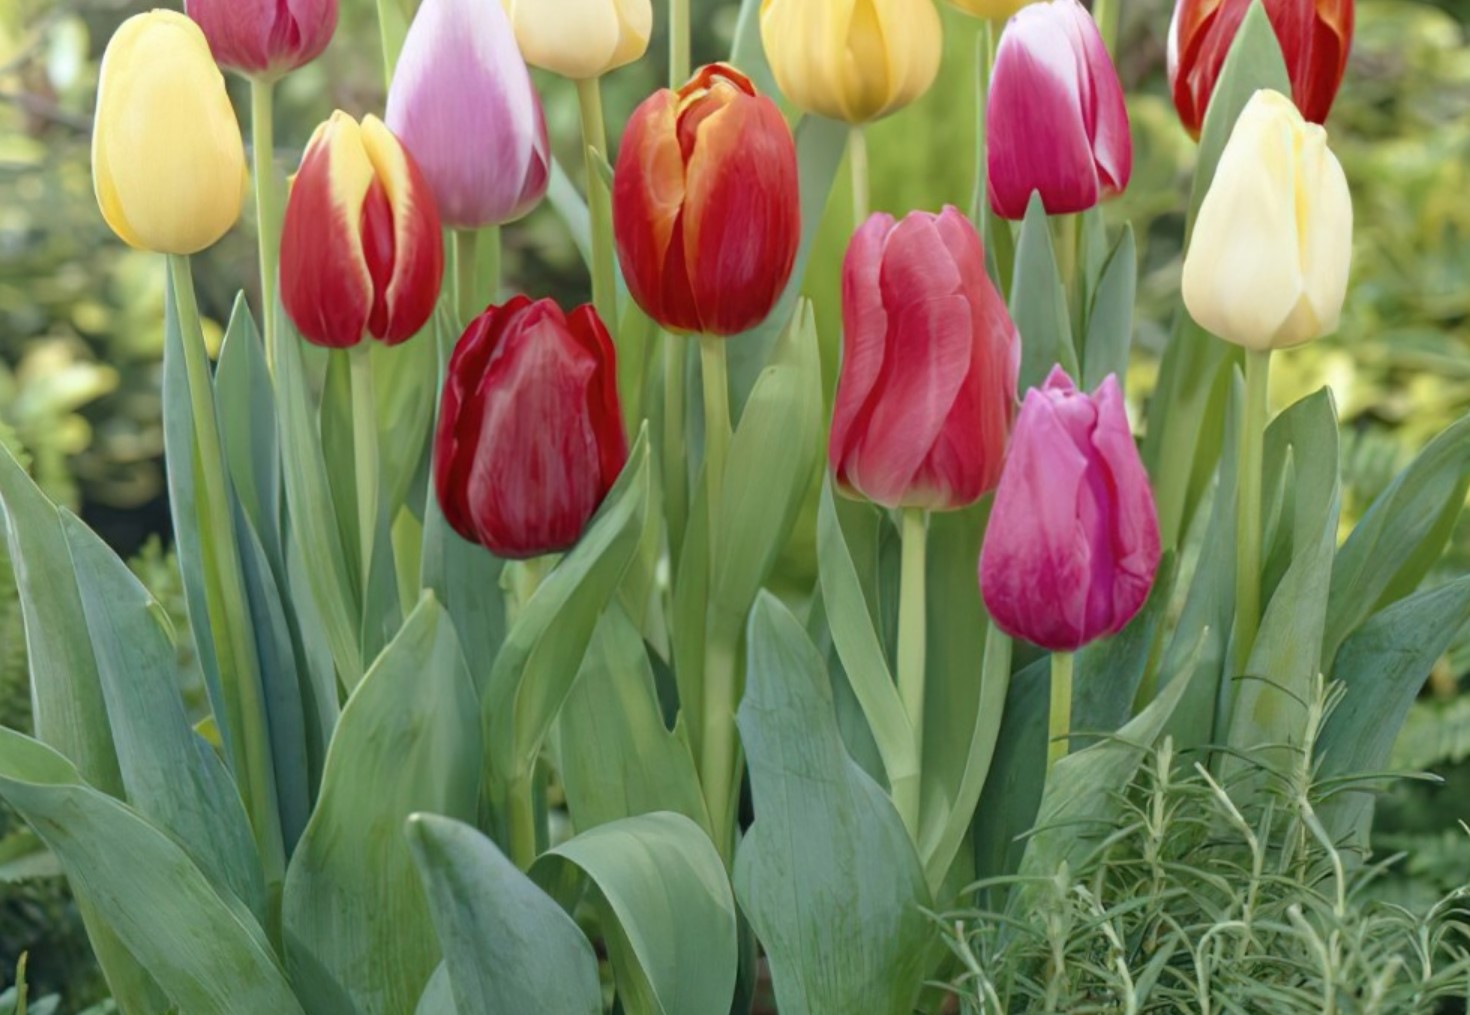
If you’ve ever admired those stunning tulip displays that pop up each spring in parks, gardens, and even neighbors’ front yards, you’re not alone. Tulips are the quintessential spring flower, known for their vibrant colors, clean lines, and almost regal appearance. The best part? Growing tulips is surprisingly easy! With a bit of preparation and patience, you can have a garden full of tulips that will brighten up your space come springtime.
Let me walk you through the process of planting tulip bulbs, sharing some of my personal experiences and mistakes along the way to help you avoid them!
Step 1: Choose the Right Tulip Bulbs
What to Look for in a Bulb
Before you even think about planting, you need to pick the best bulbs. Trust me, I learned this the hard way after buying some discount bulbs that never sprouted (and then blamed the weather!). When selecting tulip bulbs, opt for firm, large bulbs without soft spots or blemishes.
Here are the characteristics of a good tulip bulb:
- Size: The larger the bulb, the bigger the bloom. Aim for bulbs that are at least 12 cm in circumference.
- Texture: Firm bulbs are a sign of good health. Soft or moldy spots are a no-go.
- Color: The outer covering of the bulb, known as the “tunic,” should be dry and papery.
Step 2: Pick the Perfect Spot
Finding the Right Location
Tulips love sunlight. In fact, the more sun, the better! I remember one year planting tulips in a shaded spot behind my house, and let’s just say those poor things didn’t stand a chance. Choose a location that gets at least 6 hours of direct sunlight each day.
Soil Matters Too!
Tulips prefer well-draining soil. If the soil stays too wet, the bulbs can rot before they ever get a chance to sprout. I made this mistake when I first started gardening, planting tulips in a patch of clay-heavy soil that turned into a swamp every time it rained. If you have heavy soil like clay, consider adding compost or sand to improve drainage.
Step 3: Plant at the Right Time
When to Plant Tulip Bulbs
Timing is everything. You’ll want to plant tulip bulbs in the fall, about 6 to 8 weeks before the first hard frost in your area. Tulips need a cold period to develop their blooms properly. Aim for soil temperatures between 40-50°F (4-10°C) for optimal results.
Here’s a quick table to guide you through when to plant depending on your region:
| Region | Planting Time |
|---|---|
| Northern U.S. & Canada | September to October |
| Central U.S. | October to November |
| Southern U.S. | November to December |
Pro Tip: Don’t plant too early! I once got too eager and planted my bulbs in early September. What happened? They sprouted in the fall, then died off when the frost hit. You need that cold period for the tulips to flourish in the spring.
Step 4: Prepare the Soil
Prepping the Ground
Tulips aren’t too fussy, but they do appreciate a little prep work. Start by loosening the soil in the planting area to a depth of about 12 inches (30 cm). This will allow the roots to spread easily. Mix in some compost or slow-release bulb fertilizer to give your tulips the nutrients they need.
If you’re planting in a spot where drainage is an issue, try elevating the bed slightly or planting on a slope. Raised beds can work wonders too!
Step 5: Plant the Bulbs
How Deep to Plant Tulip Bulbs
This part is key. Plant the bulbs too shallow, and they could suffer from frost damage. Too deep, and they may not get enough warmth to sprout in spring.
The general rule of thumb is to plant tulip bulbs at a depth of three times the height of the bulb. For most tulip bulbs, this will be around 6 to 8 inches deep (15-20 cm).
Here’s the step-by-step planting process:
- Dig a hole that’s 6 to 8 inches deep.
- Place the bulb pointy side up (yep, I’ve done it wrong before—it matters!).
- Space each bulb about 4 to 6 inches apart to allow room for growth.
- Cover the bulbs with soil and gently pat down.
- Water the area well to settle the soil around the bulbs.

Planting in Groups
For a natural, eye-catching look, plant tulips in clusters or “drifts” of 10-15 bulbs. Scattering them in a random pattern before planting gives a more organic appearance than neatly lined rows.
Step 6: Water and Wait
After planting, water the bulbs thoroughly to help them settle in. But be careful—don’t overdo it! Tulip bulbs don’t like to sit in soggy soil. Water once when you plant them, then leave them alone until the ground freezes or during any particularly dry spells in winter. After that, it’s just a waiting game.
Step 7: Care After Planting
Winter Care
You don’t need to do much for your tulips over the winter. However, if you live in an area with particularly harsh winters, a layer of mulch (like straw or shredded leaves) can help insulate the bulbs from extreme cold.
Spring Blooms and Aftercare
Once spring arrives and the temperatures start to warm up, you’ll see the first signs of growth. When your tulips start blooming, you can feed them with a balanced fertilizer to keep the flowers vibrant.
After the blooms fade, resist the urge to cut the leaves right away. The tulip leaves help store energy in the bulb for the next year’s growth. Only cut them back once they’ve turned yellow and withered.
Common Mistakes to Avoid When Planting Tulip Bulbs
I’ve been there, and I’ve learned some things the hard way. Here are a few common mistakes to avoid:
- Planting Too Early or Too Late: Timing is everything, and planting at the wrong time can ruin your tulip dreams.
- Poor Drainage: Bulbs will rot if they’re sitting in waterlogged soil, so make sure your planting spot drains well.
- Planting the Bulbs Upside Down: I did this my first year, and nothing sprouted. Always make sure the pointy end is up.
- Not Watering After Planting: A little water helps settle the soil around the bulbs and encourages root growth before winter sets in.
Final Thoughts: Why I Love Planting Tulip Bulbs
Planting tulips is one of those gardening tasks that takes a bit of effort up front, but the payoff is well worth it. There’s nothing quite like seeing those first colorful blooms after a long winter. It’s a little reminder that spring has arrived, and all the work you put in months ago is finally paying off.
I remember my first successful tulip garden—it was like a rainbow in my front yard, and neighbors kept stopping by to ask how I got them to bloom so perfectly. Little did they know, it was a simple process of learning from past mistakes and following these straightforward steps.
So, if you’re thinking about planting tulips this year, go for it! You’ll be so happy you did when spring rolls around, and your garden is bursting with color.
Tulip Planting Quick Guide:
| Tulip Care Tip | Details |
|---|---|
| Best planting time | 6-8 weeks before first frost |
| Planting depth | 6-8 inches |
| Spacing between bulbs | 4-6 inches |
| Sunlight requirement | Full sun (6+ hours per day) |
| Watering needs | Water after planting, then as needed |
| Soil type | Well-draining, rich in organic matter |
| Fertilization | Use slow-release bulb fertilizer in spring |
Now that you’re armed with all the knowledge, grab those bulbs and get planting! Happy gardening! 🌷

